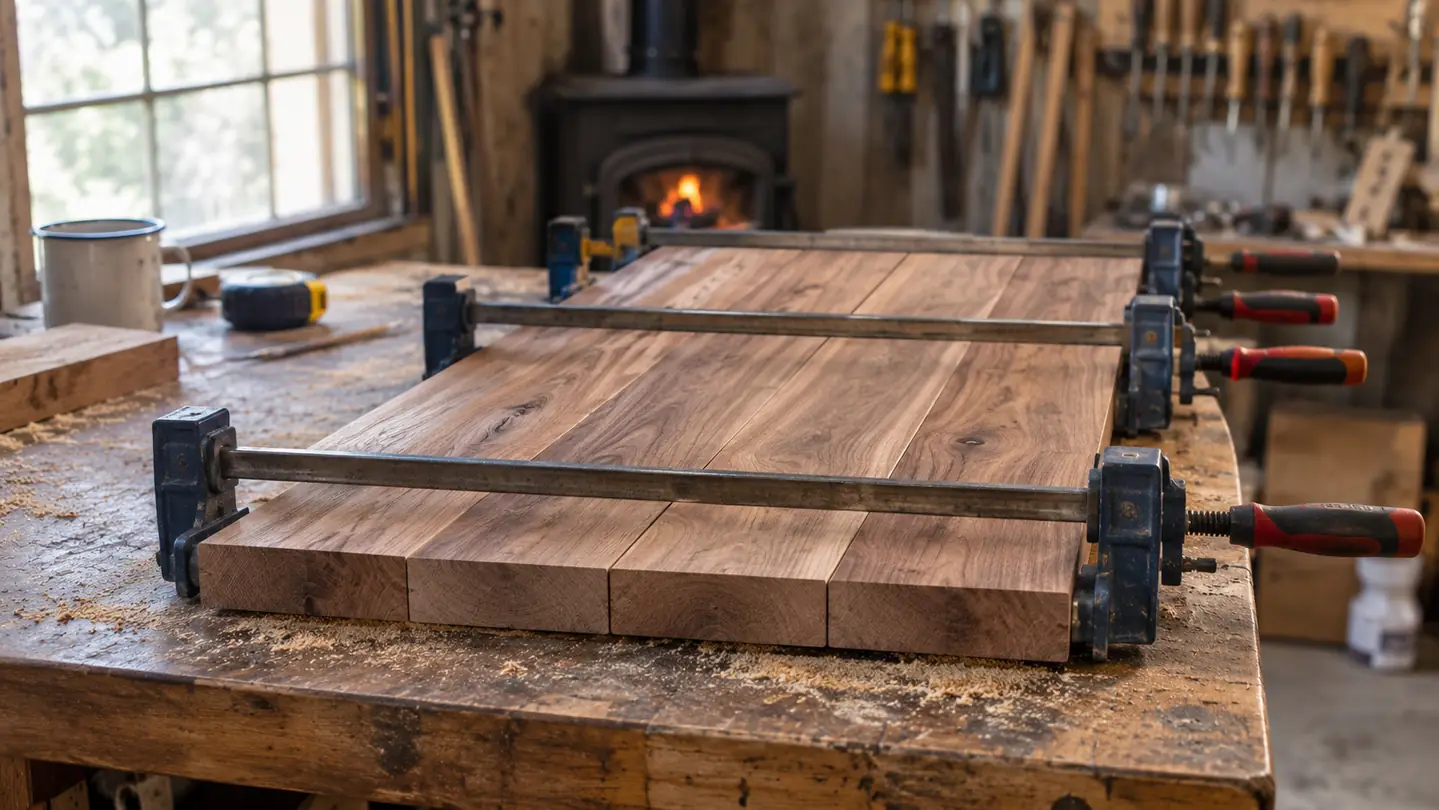
Edge gluing four boards into one flat panel is the job that turns a stack of lumber into a tabletop, a shelf, or a chest lid. It is also where most home-shop woodworkers find out that wood glue is a lubricant. You spread it, you bring the boards together, you start cranking on clamps, and every board decides to slide in a different direction. Seams that looked tight in the dry fit open up. The panel cups. The whole thing sets before you can get your hands on it, and now you own a very flat piece of firewood.
I work out of a one-car garage shop outside Philadelphia, roughly 12 by 20 feet with a wood stove in the corner, so I do not have room to spread out and I do not have room to panic. Years ago I started keeping four IRWIN Quick-Grip one-handed mini bar clamps within arm's reach of the bench, and they changed how I glue panels. They are 6 inch clamps with hardened steel bars and a resin body, rated at 140 pounds of force. They are not the clamps that hold a two-foot-wide tabletop together, and I will get to that. They are the clamps that hold everything else while the big clamps do their work.
Four Small Clamps That Buy You Ten Seconds
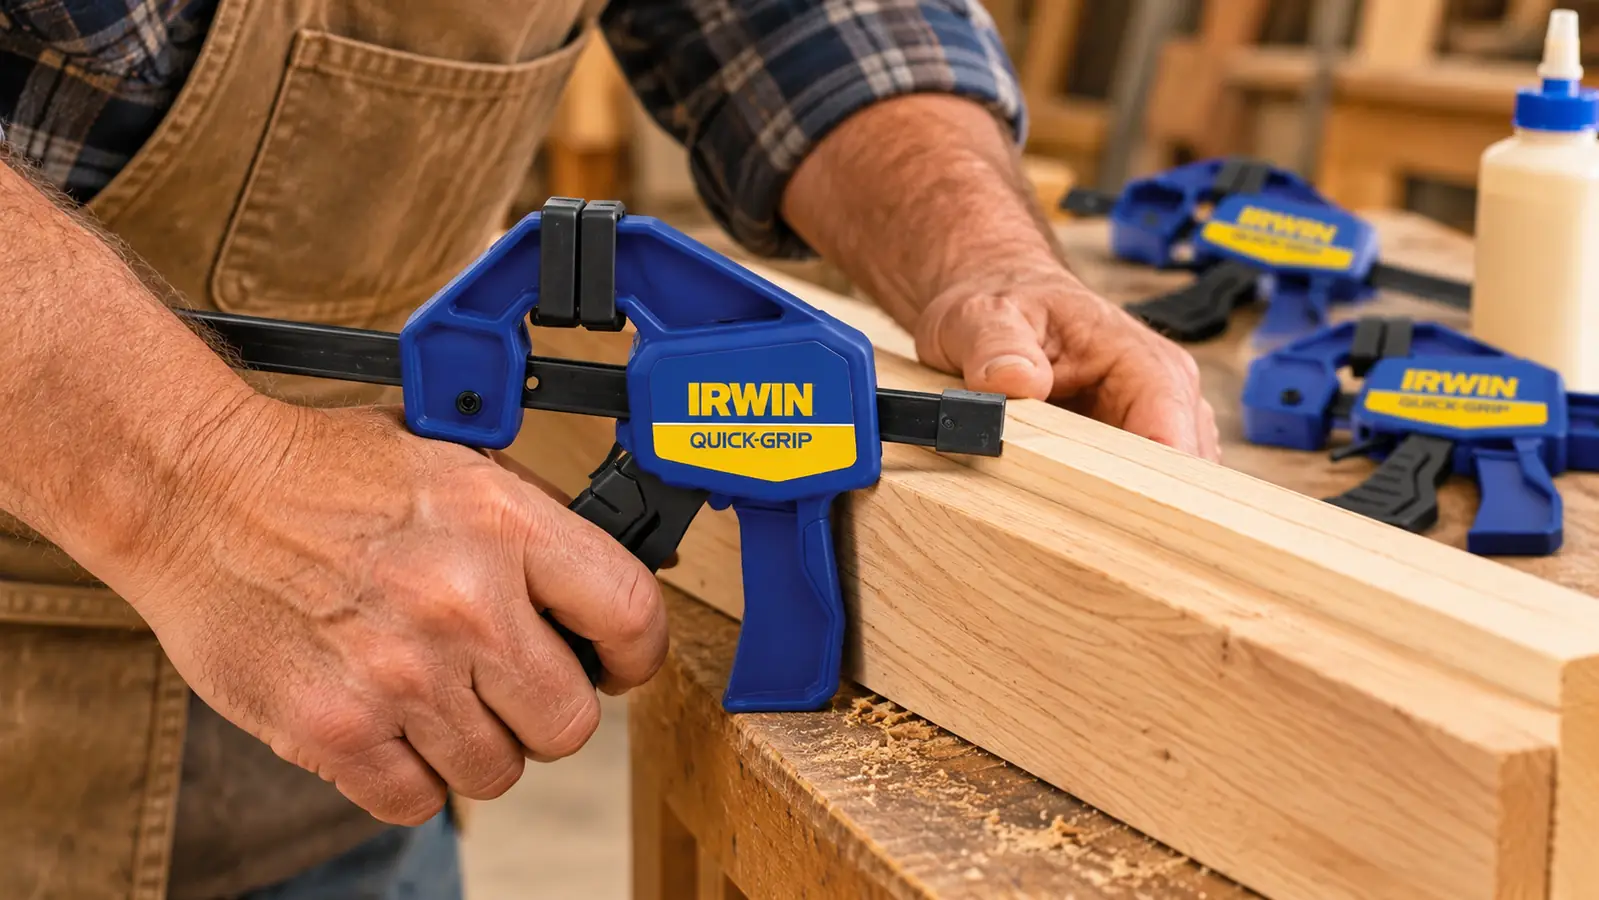
The IRWIN Quick-Grip 6 inch mini bar clamps open with a squeeze and release with a trigger, so one hand can hold a board while the other hand places the clamp. I keep a four pack on the bench for cauls, sub-assemblies, and holding a joint still while the big clamps go on.
Amazon Check Today's Price on Amazon →The Panel Glue-Up, Step by Step
Step 1: Mill, Fit, and Mark the Boards Before the Glue Comes Out
A glue-up is not where you fix a bad joint. It is where you lock in a good one, which means all the fitting happens the day before. Joint the mating edges, or run them over the table saw against a straight edge jig, then hold each pair up to a light. If you can see daylight through the middle of the seam, those edges are not mating. Two light passes on the jointer, taking a whisker off each time, usually solves it. If it does not, the board has a twist in it and no amount of clamp pressure will straighten it out.
Check all three seams on a four-board panel, not just the first one you assemble. A single bad edge on board three shows up as a visible gap in the finished top no matter how many clamps you pile on it, and it will show up right where a guest at dinner can see it. I also alternate the end grain as I lay the boards out, up, down, up, down, which gives the panel a fighting chance of staying flat as it moves through the seasons. It costs nothing to do and it saves a lot of arguing with a hand plane later.
Then dry fit the whole panel on the bench and mark it. I draw a chalk triangle across the faces, one leg on each board, and number them in order. Once glue is on, four boards of the same stock look identical in a hurry, and the board you flipped end for end two minutes ago is suddenly invisible. The triangle puts them back in the right order and the right face up every time. I skipped this step for years because it felt like busywork, and adding it is the single change that cut my glue-up mistakes the most.
Step 2: Stage the Bench Before You Open the Bottle
Wood glue gives you maybe ten minutes of comfortable working time, and less than that when the shop is warm from the stove. You cannot spend three of those minutes hunting for a rag. Everything you need should be laid out, in the order you will reach for it, before the bottle is even open. That sounds obvious written down on a page. It is not obvious at eight in the evening with glue already on your fingers and a board sliding sideways.
My layout looks like this: clamps open with the jaws set near the thickness of the panel, waxed cauls stacked within reach, a sheet of wax paper under the work, a damp rag and a dry rag, a glue bottle with a fine tip, a dead blow mallet, and a straightedge. In a shop this small I also plan where I will stand, because once the panel is clamped I cannot walk around it. I set the panel toward the front of the bench and work from one side, so I am never reaching across wet glue to grab something.
This is where the small one-handed clamps earn their spot on the bench. A big bar clamp takes two hands and a clear path to set. The IRWIN Quick-Grip minis open with a squeeze and release with a trigger, so I can hold a board steady with my left hand and place a clamp with my right. During a glue-up, that speed is worth more than raw clamping force. The four of them live in a little row on the pegboard and they get used on almost every project that leaves the shop.
Step 3: Spread a Thin, Even Bead, One Joint at a Time
Run a bead down one edge of the joint, not both, and spread it with a finger or a cheap acid brush until the whole face carries a thin, even film. Thin is the word. A heavy bead does not build a stronger joint. It builds more squeeze-out, more slip under the clamp, and a bigger mess to scrape off later. Glue that is not under pressure does nothing for the joint anyway, so the extra you squeezed out was never doing work in the first place.
Two exceptions. End grain drinks glue, so give it a second thin coat after the first one soaks in. And any joint headed for a humid spot, like a bathroom shelf or a basement bookshelf, gets a little more attention right at the edges where water sits. Otherwise, one thin coat on one face is enough, and the clamps will spread it the rest of the way across as they close.
Work one joint at a time and do not dawdle. Bring the boards together, slide them until the chalk marks line up, and get a clamp on that joint before you move to the next one. If you butter all four edges first, the joint you started with has already begun to skin over by the time you come back to it, and a skinned joint is a weak joint. You will not see it until it fails, usually on the day you deliver the piece.
Step 4: Clamp Snug From the Middle Out, Then Alternate Sides
Lay the panel flat and bring every clamp down snug, not tight, working from the center joint outward. Snug across the whole panel first, before anything gets tightened hard. That lets the boards find their own flat before you commit to pressure. Then come back and tighten in stages, a quarter turn at a time, alternating above the panel and below it so you are not pulling the whole thing into a cup.
Read the squeeze-out as you go. A thin, continuous bead of glue along the full seam means the pressure is about right. A dry seam means you are short on pressure or short on glue, and you should check which before you add more of either. A waterfall running down the side of the panel means you used too much back in Step 3. That is not a disaster, it is just more scraping and a slick bench top.
Cauls are what actually keep a panel flat, and this is the best use I have found for the minis. I lay a waxed hardwood caul across the panel over each joint, then clamp the caul down to the panel with the IRWIN Quick-Grip clamps, one at each end, while the larger clamps supply the horizontal squeeze. The 140 pounds of force in a mini is more than enough for that job, and the hardened steel bar holds its shape instead of bowing the way a plastic-bodied clamp will once it gets warm.
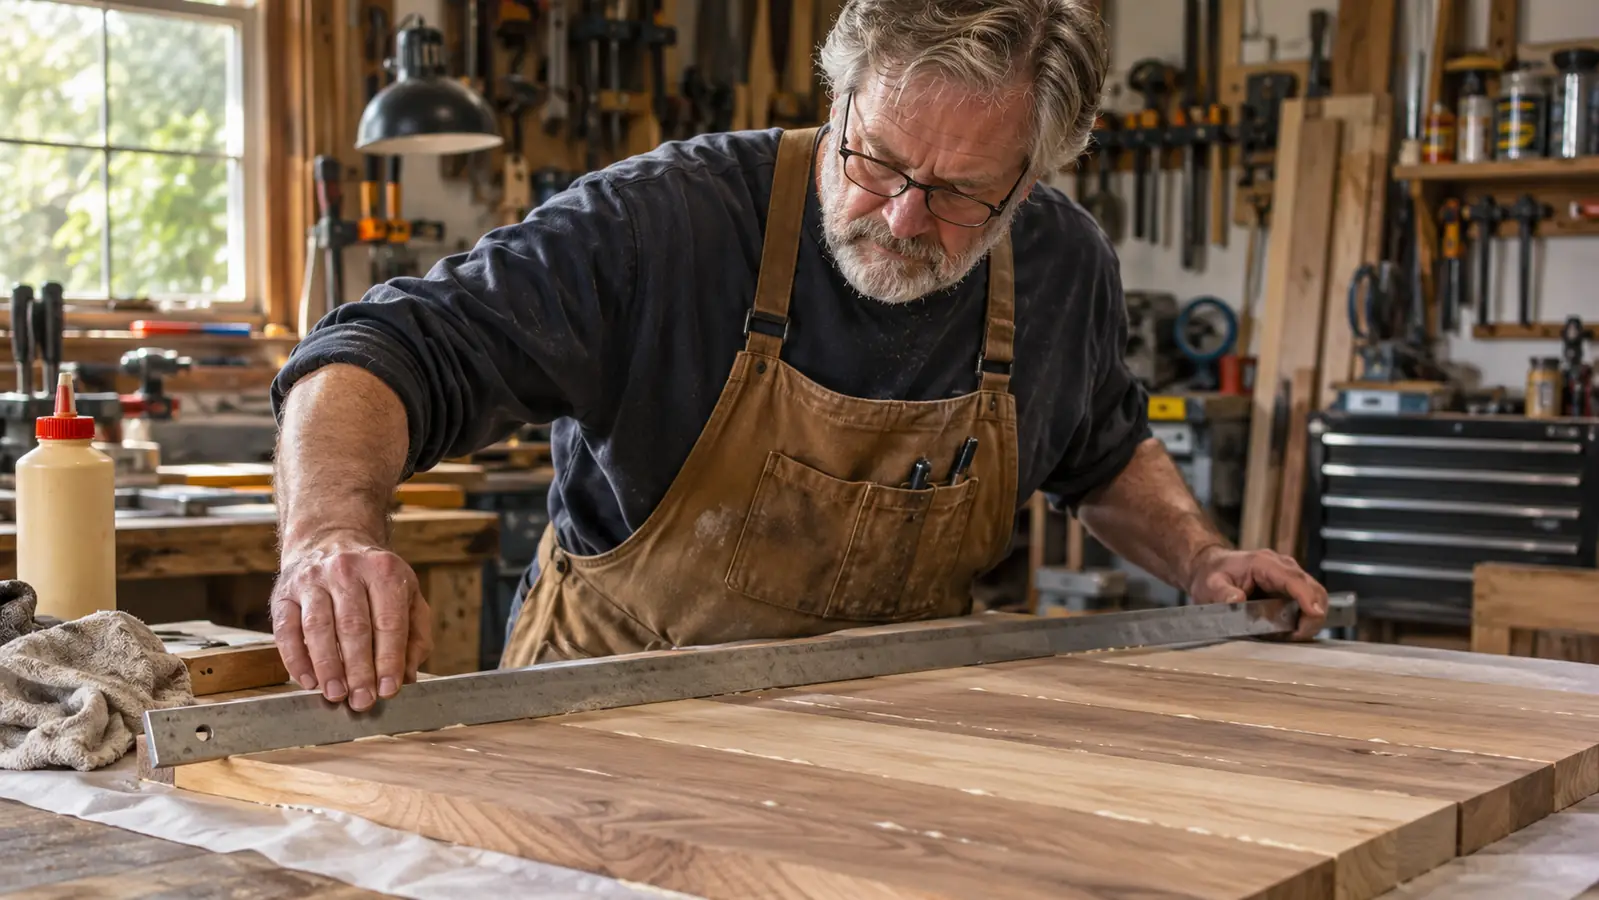
Check flatness with a straightedge across the seams in both directions while the glue is still wet. If one board has ridden high, a tap with the dead blow mallet usually brings it back into line. Once the glue grabs, that option is gone and you are planing instead of adjusting. This is the last two minutes where you have any real control, so use them.
Snug first, all the way across. That lets the panel find its own flat before you commit to pressure.
Step 5: Read the Joints, Clean the Squeeze-Out, Then Leave It Alone
Before you walk away, run a tape across both diagonals and run your fingers along every seam. A joint that felt tight during assembly can still creep under clamp pressure, and the creep is slow enough that you will not notice it while you are standing there watching. If something is off, fix it in the first fifteen minutes. After that you are no longer adjusting the panel, you are repairing it.
Scrape the squeeze-out with a card scraper or a plastic scraper after twenty to thirty minutes. The glue should be rubbery at that point, not hard, and it will come off in one satisfying curl. Wipe the remainder with a damp rag, then a dry one. Leave a hardened bead sitting on the panel and you will be sanding it later, and cured glue sands differently than the wood around it. That difference shows up the second you wipe on finish, right along the seam, in the shape of a faint line you cannot sand out.
Then leave it alone. Clamps come off after an hour, but the panel sits flat on the bench overnight with nothing stacked on it. Twenty-four hours is my rule. Every time I have gotten impatient and started working a panel the same afternoon, I have paid for it with a seam that opened a few weeks later, usually somewhere in the middle of a finished top that was already sanded and oiled.
Where the Mini Clamps Fall Short
A 6 inch clamp has 6 inches of capacity, and a tabletop does not. If you are gluing a 24 inch wide panel, the Quick-Grip minis are not your primary clamps and they never will be. You need bar clamps or pipe clamps that actually span the width, roughly one every 6 to 8 inches along the seam, plus a couple of extras at the ends where the joints are most likely to open. Trying to build a full-width top out of short clamps and wishful thinking is how you end up with a panel that is flat in the middle and open at the edges.
There is a pressure ceiling too. 140 pounds of force is plenty for a caul, a small box, a mitered frame, or holding a stop block while you drill. It will not pull a warped board into submission, and you should not ask it to. If you are relying on clamp force to close a gap, that gap is telling you the edges were never jointed properly. Go back to the jointer and take another pass. The clamp is not the problem and more clamp is not the answer.
What Else Helps
Wax the cauls and the clamp jaws. A little paste wax on the caul face keeps glue from bonding the caul to your panel, and it turns cleanup into one wipe instead of a chisel job. I wax the jaws a couple of times a year, usually after I have already glued a clamp to something, which is not the ideal time to remember it.
Keep a dedicated glue brush and a small container of water at the bench. Rinse the brush when you finish and it will last months instead of days. Buy a bottle with a fine tip, because a wide opening laying down a fat bead is the fastest route to over-gluing a joint and then fighting the squeeze-out for the next half hour. Small things, but they are the difference between a glue-up you finish and one that finishes you.
Finally, do a full dry run on any glue-up involving more than three pieces. Assemble it with clamps and no glue, time yourself, then take it apart and do it for real. It feels silly the first time, standing there clamping an empty panel. It is also the difference between a panel and a pile of expensive shorts. My grandson Tyler has watched me do this and asked why I was practicing something I already knew how to do. I told him the practice is not for the part I know, it is for the part I forgot.
The Clamps You Reach For Between the Big Clamps
A four pack of 6 inch IRWIN Quick-Grip mini bar clamps, rated at 140 pounds of force, with a full lifetime guarantee. They hold cauls, sub-assemblies, and small panels, and they release with one hand when you need to move fast.
Amazon Check Today's Price on Amazon →