
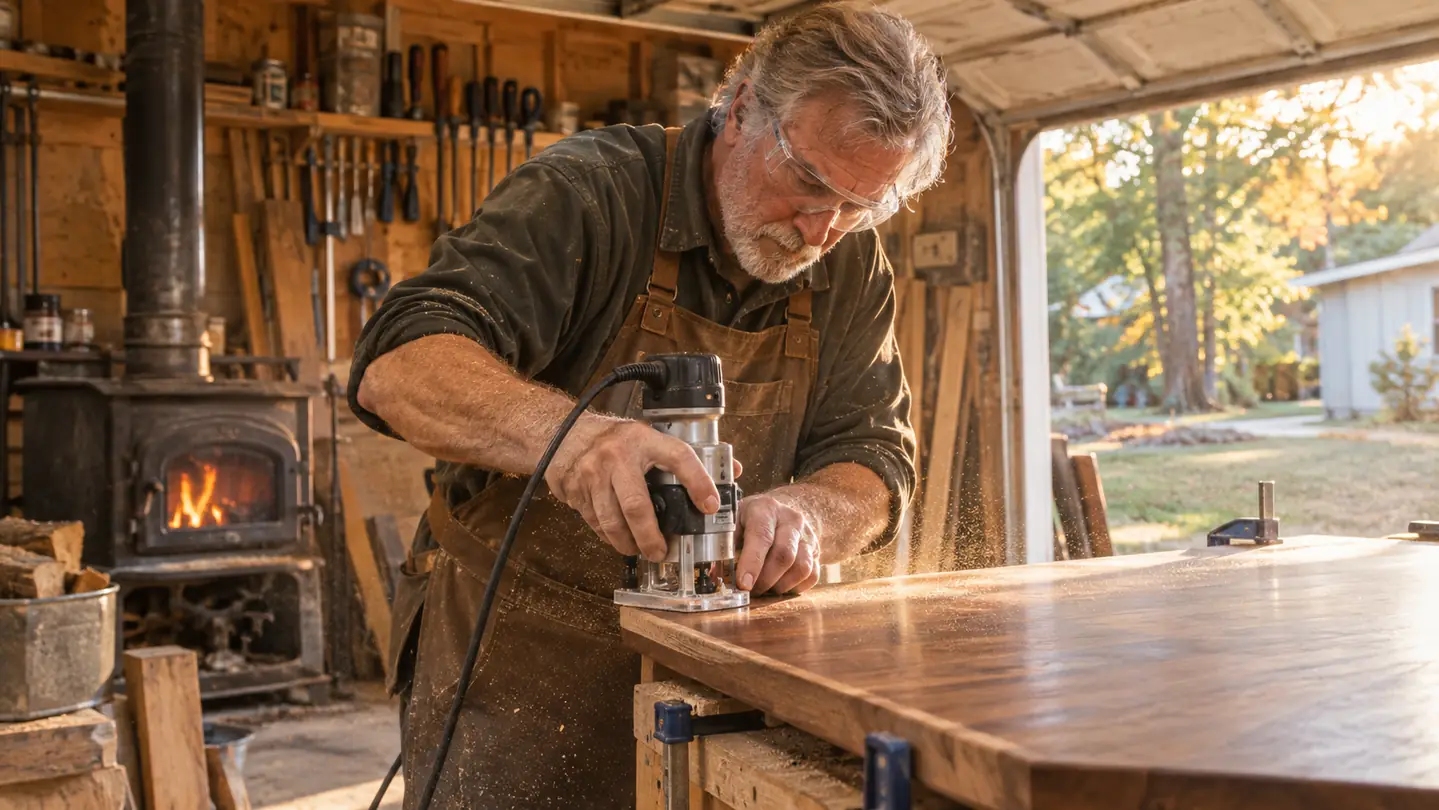
A square edge on a tabletop looks right on a drawing and feels wrong on a forearm. I built a maple end table for my daughter Jen a few years back and handed it over proud as anything, and the first thing she did was run her hand along the top and come away with a red line across two fingers. She did not say anything. She did not have to. That is the day I started rounding over every top that leaves this shop, and it is the reason a trim router now lives on my bench instead of in a drawer.
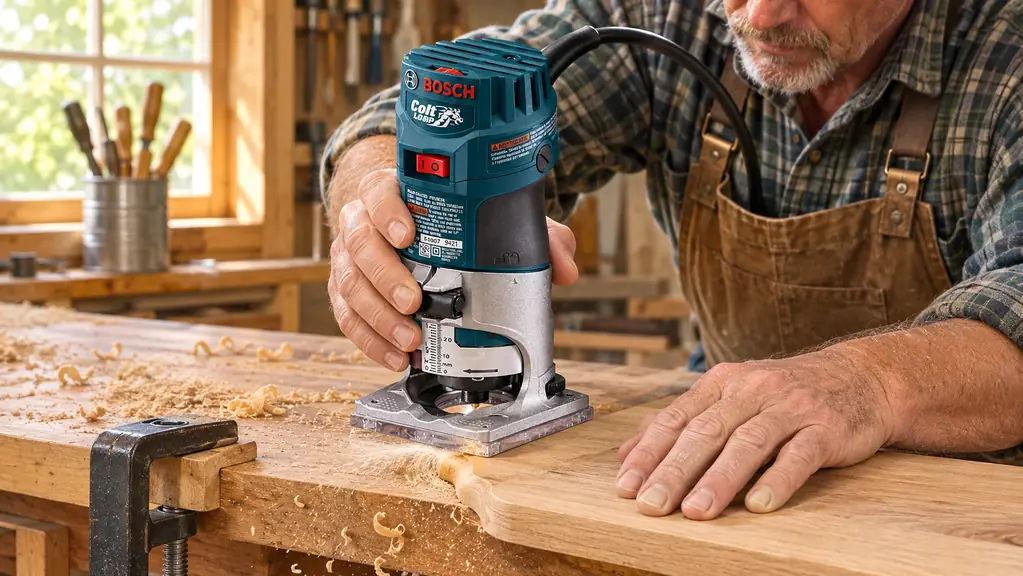
The tool I use for it is a Bosch PR20EVS Colt. It is a 1.0 HP trim router with a 5.6 amp variable speed motor, and it weighs 3.3 pounds, which sounds like a small detail until you are holding it against a finished edge at eye level for the tenth time in an afternoon. My shop is a one-car garage, 12 by 20 feet, and a full-size router table takes up the corner under a sheet. The Bosch palm router sits on the bench where I can actually reach it. The fixed base clamps the motor with a quick-clamp system, so changing a bit or nudging the depth is a two-second job instead of a hunt for the wrench.
The Router That Lives on My Bench, Not in a Drawer
The Bosch PR20EVS Colt is a 1.0 HP trim router with a variable speed motor that runs from 16,000 to 35,000 RPM and a fixed base that accepts bits up to 1-5/16 inch in diameter. It is the tool I use for every roundover that leaves this shop.
Amazon Check Today's Price on Amazon →Five Steps, In the Order I Do Them
Step 1: Match the Bit to the Radius You Actually Want
A roundover bit is a cutter with a bearing on the bottom end, and the bearing is the whole mechanism. It rides against the edge of the work and stops the cutter from going any deeper than the profile it was ground to. Change the radius of the bit and you change the shape of the edge. Change only the bearing and you change how deep that same cutter bites. Understanding that one relationship is most of this job.
For an end table or a dining top I usually land on a 1/4 inch radius. It takes the sting off the corner without making the top look like a bar of soap. A 1/8 inch radius is what I use on shelf noses and drawer fronts, where I want the edge softened but the line still crisp. A 3/8 inch radius belongs on a thick top, an inch and a quarter or more, where there is enough meat that the curve reads as intentional. On a thin top, a big radius removes so much of the edge that the profile looks like a mistake, because it is one.
The Colt takes 1/4 inch shank bits in a self-releasing collet, and the fixed base will swallow a cutter up to 1-5/16 inch in diameter, so most roundover bits you already own will fit. Check the bearing before you chuck the bit. Spin it with a finger. It should turn free and smooth with no grit and no flat spot. A bearing with a nick in it will press that nick into the edge of every board you run past it, and you will chase the mark with sandpaper for an hour before you work out where it came from.
Step 2: Set the Bit So the Bearing Rides the Edge, Not the Corner
This is where most bad roundovers come from. If the bit sits too high, the bearing lands on the sharp top corner and the cutter digs in below it. The result is a gouge, a burn, or both at once. If the bit sits too low, the bearing rides nothing at all and the cutter takes a bite out of the corner with no control over how much. Both of those look like tool failure. Neither one is.
Unplug the router. Back the base down, drop the bit in, and tighten the collet. Set the Bosch flat on a scrap of the same thickness as your top so the base is supported the way it will be on the real work. Raise the bit until the bearing sits just barely below the top face, then lock the base down. On the Colt that is a matter of releasing the quick-clamp, sliding the motor, and clamping it again, and it takes less time than reading that sentence.
That scrap pass is not optional in my shop. End grain, figured maple, and anything with a knot will behave differently than the straight grain you tested on. I keep a bin of offcuts from every project within arm's reach, and I run a six-inch pass on the same species and the same thickness before the bit ever touches the finished top. It costs me thirty seconds. It has saved me two tabletops.
Step 3: Prep the Edge Before the Bit Ever Touches It
A router does not smooth an edge. It copies it. Every bump, every bit of squeeze-out, every place where the saw left a ridge gets reproduced in the new profile at full size and then locked in. I learned this on a cherry top where I skipped the sanding step because the glue line looked fine to me. It was not fine. The roundover came out with a ripple along its whole length, and I had to take the edge back down and start over.
So now the edge gets sanded to 150 before the router comes out. Check for dried glue with a fingernail. Run your hand along the edge with your eyes closed. If you can feel it, the bit will find it.
Feed direction matters here too. With a handheld router running a bearing bit, keep the edge you are cutting on the side nearest you and push the router from left to right. The bit spins clockwise, and going the other way turns the cut into a climb cut, where the cutter grabs and pulls the router along the edge instead of cutting into it. On a palm router with a small bit you might get away with a light climb cut on tearout-prone grain. You might also wreck the top. I do not do it on a finished piece, and I would not tell you to.
Step 4: Take Two Passes and Keep the Router Moving
One pass at full depth works fine on pine. On cherry, on maple, on anything with figure, it invites tearout and burn. The way around it is to rough the profile with a smaller bit first. I run an 1/8 inch roundover down the whole edge, then come back with the 1/4 inch bit. The first pass takes a sliver and leaves the second pass almost nothing to remove, so there is nothing left to tear.
Keep moving. A router parked in one spot for two seconds will scorch the wood, and the scorch goes deeper than the profile does. I have a mark on a walnut top that is exactly the width of a 1/4 inch roundover and about two inches long, and it is there because I stopped to look at something across the shop. Nothing removes that. You sand until you are afraid of changing the profile, and then you live with what is left.
The variable speed motor on the Colt runs from 16,000 to 35,000 RPM. Small-diameter bits in hardwood like to run fast. A large cutter or anything in plastic wants the speed turned down. For a 1/4 inch roundover in cherry I run somewhere in the middle, move at a steady pace, and let the bit do the work instead of shoving the router through the edge.
Step 5: Blend the Transition and Finish
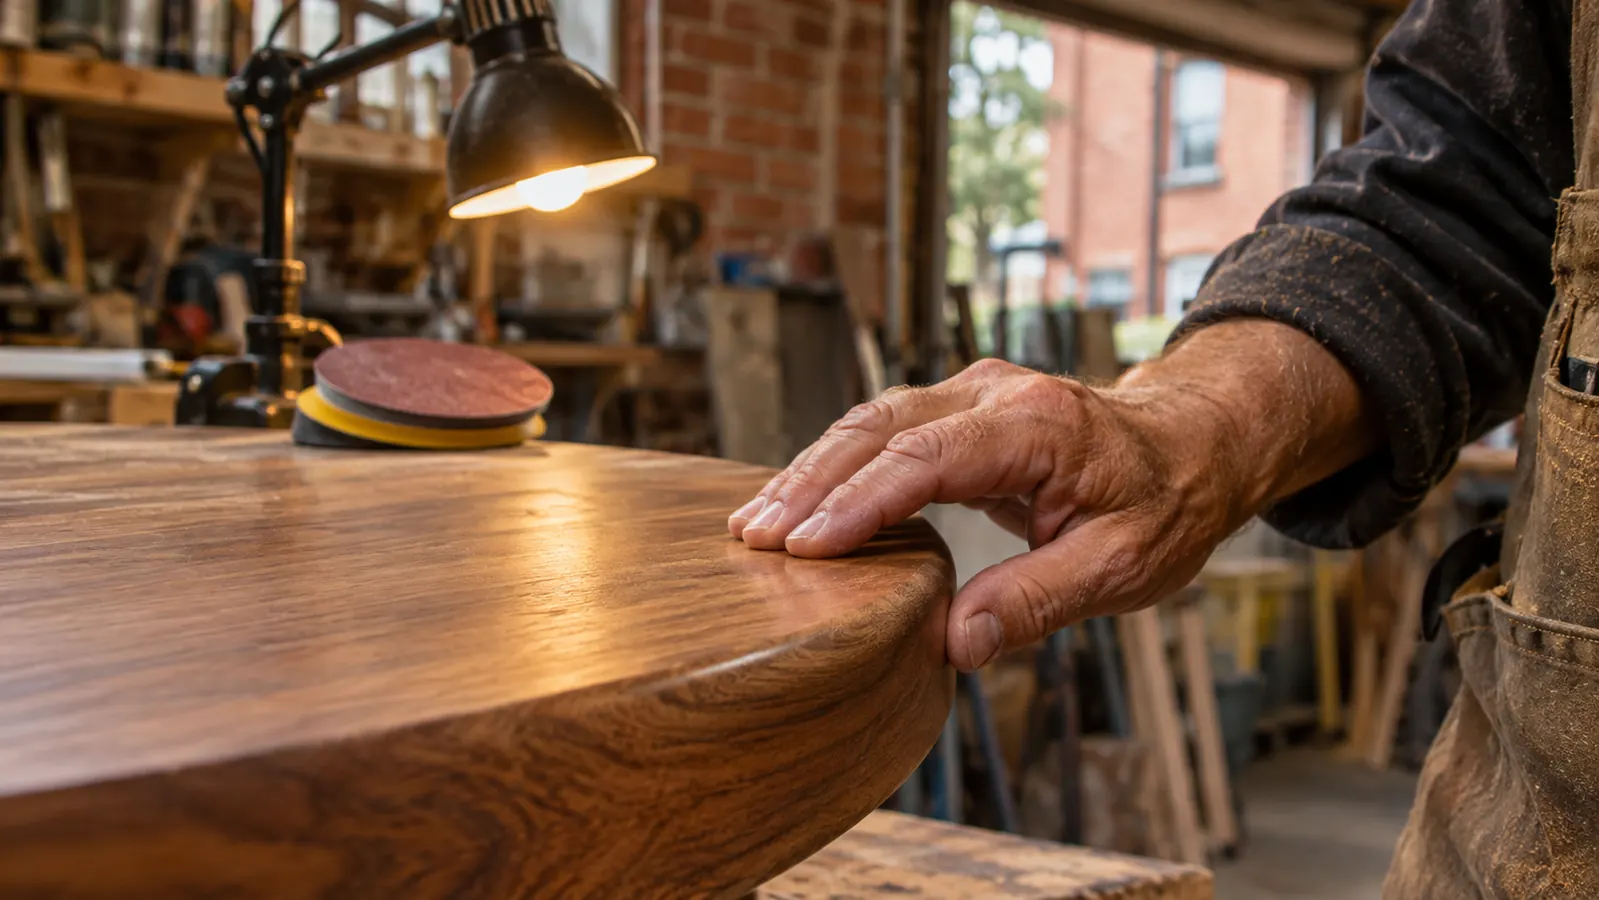
The router leaves a line where the curve meets the flat, and it leaves a faint ridge where the bearing rode the edge. Both come off with sandpaper on a flexible pad. Use 150 first, then 220. Follow the curve with the pad instead of pushing straight across it. Sanding across a roundover flattens the curve and leaves a facet you can see in raking light, which is exactly the thing you were trying to avoid by rounding the edge in the first place.
Then raise the grain with a damp rag, let it dry, and knock it back with the 220. On the cherry blanket chest I finished last winter, that one step made more difference than the finish itself. Do the underside first, always. The underside is where you find out that the pad is too stiff or the grit is too coarse, and nobody looks at the underside.
A note on the machine itself. The Colt is a fixed base router, so every depth change is a manual adjustment of the motor in the base. If you want to plunge, this is not that tool. For roundovers, shelf noses, hinge mortises, and light edge work it is the one I reach for, and mine has held up through a lot of cherry and maple. The limited 1 year warranty is what it is. I have not needed mine yet.
The burn marks came from standing still, not from the bit. A router left in one spot for two seconds will scorch cherry, and no amount of sanding gets all of it out.
What Else Helps
Clamp the top so the edge overhangs the bench by four or five inches. If there is bench under the bit, the base will not sit flat on the work, and a base that is not flat means a profile that is not consistent along its length. Two bar clamps and a folded towel under the jaws will hold a tabletop still without marking the sides.
Light does more than people expect. A raking light across the edge shows you the ridge line before you sand it and shows you the burn before you seal it under finish. I have a cheap clamp light on the bench and I move it around depending on which edge I am working on. It is the least expensive accuracy upgrade in the shop.
The kit also includes a straight edge guide that holds the base a set distance from the edge of the work, up to 3-5/8 inch. That is not a roundover tool. It is the reason I stopped fighting with a clamped board and a torpedo level every time I want a groove set in from the border of a panel.
And put the safety glasses on before you plug anything in, not after. My grandson Tyler helps in the shop some weekends, and the rule at the door is that the glasses go on in the doorway, before anything else. It applies to me too. A trim router turning 16,000 RPM throws chips that hit like gravel, and a small bit spinning in a fixed base is not the tool to get casual with.
Finish the Edge You Already Built
If the top is done and the corner is still sharp, this is the last step. The Bosch PR20EVS Colt weighs 3.3 pounds, accepts 1/4 inch shank bits, and clamps the motor in seconds so you can get back to sanding.
Amazon Check Today's Price on Amazon →