

The first tabletop I sanded with a random orbital sander took me about ninety seconds to ruin. I was a younger man with a walnut coffee table and more confidence than sense, and I leaned on the tool the way you lean on a hand block. The pad dug in, the edges went soft, and the flat surface ended up with a dish in the middle you could feel with your eyes closed. What that afternoon cost me was a board and a weekend, and the lesson was this: a random orbital sander is not a fast tool. It is an accurate one. Accuracy only shows up when you slow down, step the grits, and keep the machine moving.
That is the whole method, and it is what this article is about. Most of the furniture I sand now runs through a DEWALT DWE6421K, a five inch corded orbital sander with a 3 amp motor that spins the pad at 12,000 OPM. I bought it because the body stands 6.24 inches tall, low enough to get my hand close to the work, and because the separate counterweight design keeps the vibration out of my wrists during a long session. The DEWALT earns its footprint on my bench for one reason: it is predictable. Below is the five step sequence I use to take a raw or painted piece from rough to finish ready without sanding through a veneer or rounding an edge.
The sander I run from 80 grit to 220 on every panel in the shop
Five inch pad, 3 amp motor turning 12,000 OPM, a dust bag that locks on with one hand, and a 3 year limited warranty. Nothing on it needs explaining after the first afternoon.
Amazon Check Today's Price on Amazon →Step 1: Match the Grit to the Damage, Not to Your Patience
Before paper goes on, decide what the surface actually needs. Old finish, paint, hardened glue, mill marks from the planer, a dent somebody filled with the wrong filler, each one calls for a different starting grit. On bare hardwood that is already flat, start at 120 and save yourself an hour. On a painted piece or a top with a shallow dish, start at 80. I keep 80 on the shelf and I do not reach for it casually. It removes material faster than you expect from a tool this quiet, and every scratch it leaves has to be sanded out later by a finer grit. Coarse paper is a debt you pay back with interest.
From there, step one grit at a time: 80, then 120, then 150, then 180, then 220. Skipping from 80 straight to 150 feels efficient and is not. The coarse scratches are deep, the finer paper rides over the top of them, and you end up with a surface that looks fine under overhead shop light and shows a crosshatch the moment finish hits it. Two grits of separation is the most I will jump, and only on soft wood where the previous pass was light.
The test I use costs nothing. Scribble light pencil crosshatch lines over the whole panel before you start a grit. Sand until the pencil is gone everywhere, not just where your hands naturally travel. If half the panel still shows pencil, your coverage is uneven, and you found that out before the finish did instead of after.
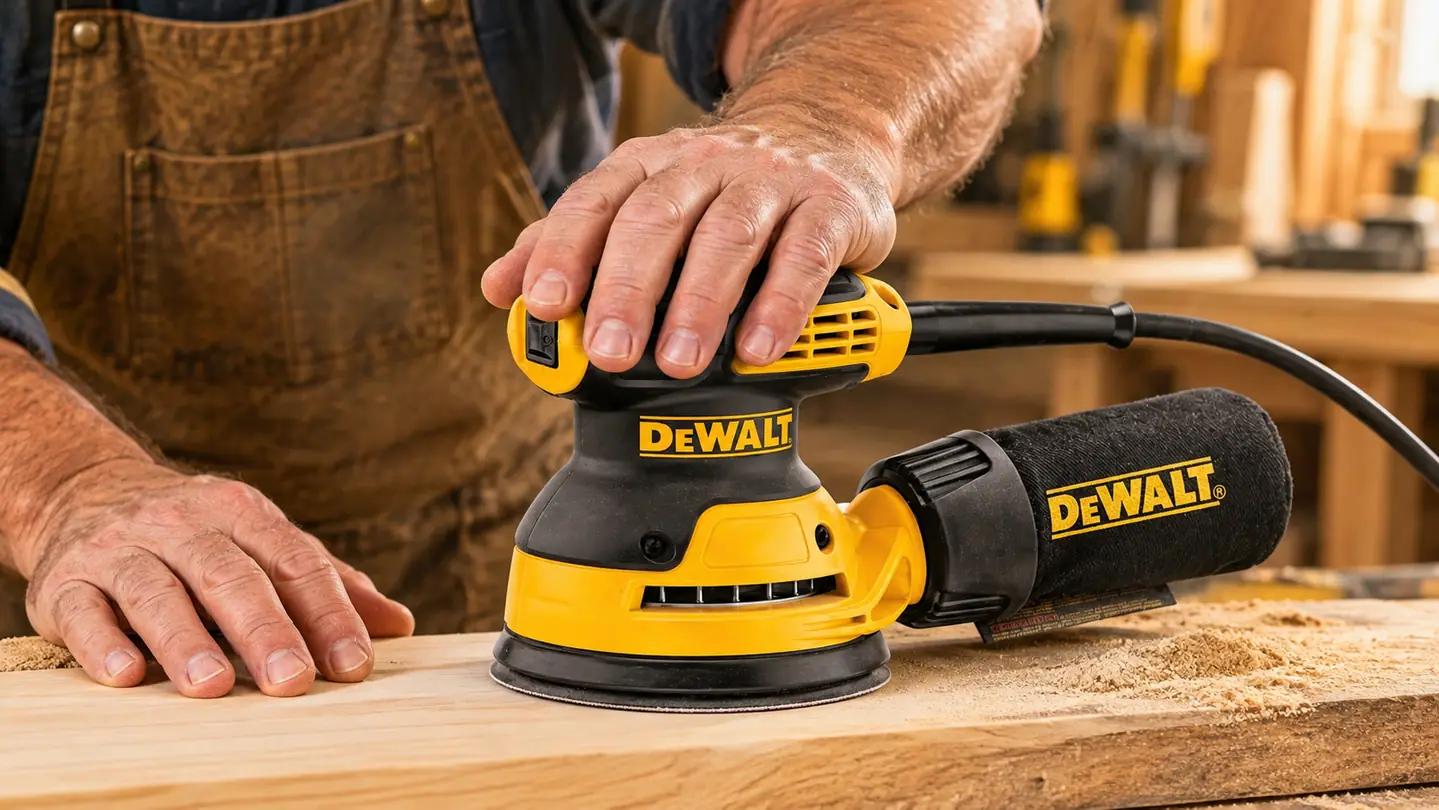
Step 2: Let the Machine Do the Cutting
The biggest mistake home woodworkers make with an orbital sander is pressing down. The 3 amp motor on the DEWALT turns the pad at 12,000 OPM, and that rotation is what cuts. Your hands are there to keep the pad flat on the wood and to keep it moving. Lean on it and you slow the pad, load the paper, and dish the surface all at once. I learned that one on the walnut table, and I still catch myself doing it when a panel is taking longer than I want.
Grip it with both hands, one on the body and one forward over the pad. The rubber over-mold on the DEWALT sits in the places your palms actually land, which matters more in the third hour than it does in the first minute. Move at roughly an inch per second and overlap each pass by half the pad width. Do not stop in one spot, not to answer a question, not to look at the clock, not to brush dust off your sleeve. A stationary pad cuts a dish in a couple of seconds. If you need to pause, lift the tool off the work first.
Keep the pad flat, too. Tipping it even slightly puts the entire cut on one edge, and that edge will gouge a softwood panel before you feel it happen. I check my own habit by watching the shadow under the pad. If I can see daylight creeping under one side, I am tipped and I correct before the next pass.
Step 3: Work in Passes, and Change Direction on Purpose
Coarse grit cuts across the grain and fine grit goes with it. On a solid wood top that needs flattening, I run the 80 and 120 passes at a shallow diagonal, first one way and then the other, before switching to straight with the grain at 150 and finer. The crosshatch levels high spots and the later passes erase the diagonal scratches. On veneer or any plywood, skip the diagonal entirely and go with the grain from the first grit, because you do not have material to spare.
Check flatness between grits. I keep a 24 inch straightedge on the bench and lay it across the panel with a light behind it. Any gap under the rule is a low spot, and sanding that area more makes it worse, not better. If a top is genuinely dished, the fix is a hand plane or a new board, not more time under the orbital sander. This is where a cheap tool tempts you into sanding harder, and where a predictable one lets you see the truth sooner.
What makes this tool forgiving is the orbit. The pad both spins and orbits, so individual abrasive grains travel different paths instead of cutting one continuous circular groove. That is why you do not get the swirl marks a rotary buffer leaves behind. The forgiveness has a limit, though. It still cuts where you hold it, and it still cuts fastest on the high spots, which is exactly what you want as long as you are paying attention.
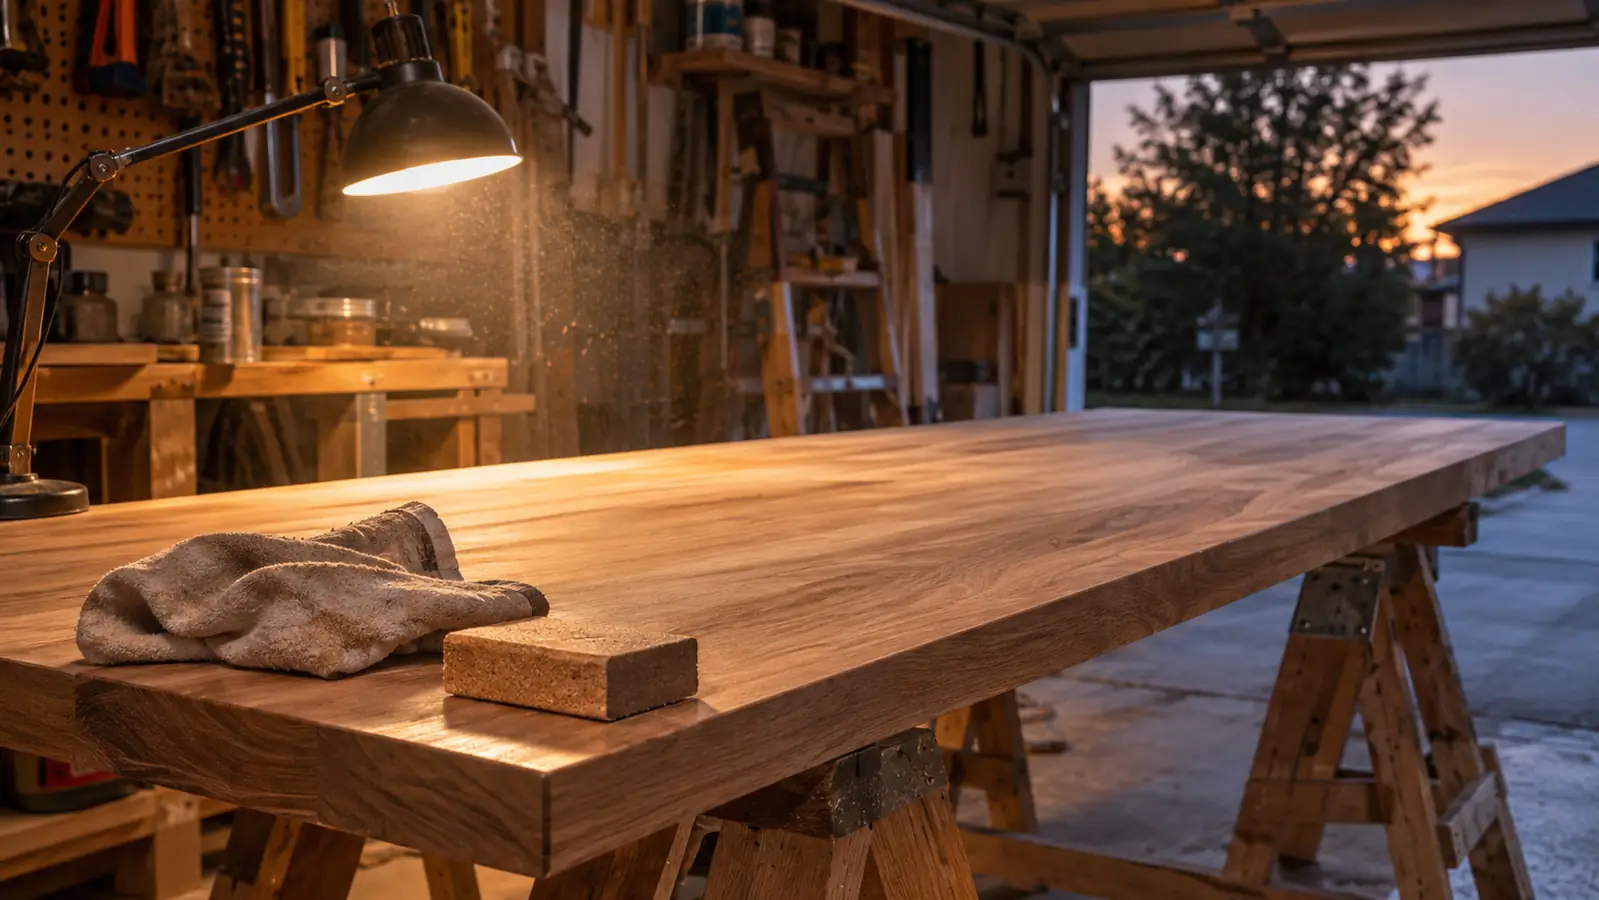
Step 4: Watch the Edges, Where Sanders Bite
Edges are where a good sanding job goes bad. The pad is a five inch disc, and the moment it rolls over an edge it takes the corner off in a soft, rounded way that reads as sloppy from three feet away. Keep the pad flat and let the edge hang past the bench, or stop short of it and finish the last inch by hand with a block. On a table apron or a drawer front, tape a scrap of cardboard along the edge if you do not trust your hands yet. I did that for a year and I am not embarrassed about it.
Inside corners, curves and profiles are hand work. A random orbital will not get into them, and forcing it just burns the flat area around them. I use a flexible pad or a block wrapped with the same grit I finished the field with, so the scratch pattern matches when the light hits it. It takes longer and it looks right, which is the trade you make on every piece of furniture you care about.
Veneer and plywood need a different kind of attention. You cannot see how thick the face veneer is, and it is thinner than most people assume. Sand with the grain, keep pressure light, and stop the moment the surface under the pad starts to change. Once you are through the face veneer the piece is finished, and no amount of stain or topcoat will hide it. If a job is veneered and I am not sure of the thickness, I hand sand the last grit and leave the machine in its bag.
Step 5: Raise the Grain, Take One Light Pass, Then Look at It
The final step is the one most people skip. Wipe the panel down with a cloth dampened with denatured alcohol and let it dry. The fibers that sanding crushed stand back up, and a surface that felt smooth a minute ago now feels rough to the back of your hand. Take one light pass at 220 by hand, with the grain, and knock those fibers off. You are not shaping anything at this point. You are only cleaning up what the liquid raised.
Then look at the panel under raking light. Put a lamp at the far end of the bench, almost level with the surface, and sight down it. Every swirl, every skipped grit and every dip shows up in that light, and all of them hide under overhead light. Run your bare hand over the panel as well, because fingertips find what eyes miss. Fix what you find with the grit that caused it, never with a finer one on top.
Vacuum or tack off the dust and get finish on the piece within a day if you can. A panel that sits in a humid garage picks up moisture and raises the grain all over again. That first coat of finish is the honest inspection. If scratches appear under it, they were always there, and the only real fix is to go back a grit and work forward. Every shortcut you took shows up in that first coat, which is why I stopped taking them.
The pad does the cutting. Your job is to keep it flat, keep it moving, and never stop in one place. Everything else is patience.
What Else Helps
Empty the dust bag early and often. The bag on the DEWALT locks on with one hand, which sounds like a small thing until you are mid-panel and do not want to put the tool down. A full bag stops collecting, and dust that stays in the air settles back onto the work you just finished. My garage is about 12 by 20 feet, so I run a shop vac and a portable dust collector as well, and I still wear a respirator for anything with old paint on it. The dust-sealed switch on this sander exists because dust kills switches, and keeping the bag clear is the cheapest way to help that design do its job.
Set the work at a height where the pad can sit flat. I clamp panels to the bench or wedge them against a bench dog, because a piece that shifts teaches you bad habits fast. Good light matters as much as good paper. Two lamps, one overhead and one low and raking, will show you more about a surface than any amount of sanding by feel. The sander also comes with a carrying bag, which sounds like filler until you are carrying it to a neighbor's house to fix a kitchen chair.
Change discs more often than feels reasonable. A loaded disc stops cutting and starts burnishing, and burnished wood takes finish unevenly for the rest of its life. I budget two discs per grit on a tabletop and consider it part of the cost of the job. If you are still weighing the tool itself, there is a longer write-up on the DEWALT DWE6421K and a side-by-side against the Bosch ROS20VSC for anyone deciding between the two. Either way, the sequence above does not change.
Five steps, one machine, and a pad you can trust to stay flat
Five inch pad, 3 amp motor, 12,000 OPM, separate counterweight to keep the vibration down, and a 3 year limited warranty. It is a simple tool that rewards a slow hand.
Amazon Check Today's Price on Amazon →