

A joint that looks bad is usually not bad joinery. It is a dull chisel. You feel it before you can see it: the tool skips across the shoulder instead of biting, the end grain goes shiny and bruised instead of sliced, and the gap you were trying to avoid opens up by the width of a fingernail. Then you reach for sandpaper, which is how a crisp shoulder becomes a rounded one. I have made that mistake on more joints than I care to count, on everything from picture frames to the cherry blanket chest that took me most of one winter.
A chisel is the one edge tool in my shop that I sharpen myself, and it has to be sharp every time I pick it up, not once a season. The HURRICANE 4 piece wood chisel set is what sits on my bench: 1/4 inch, 1/2 inch, 3/4 inch, and 1 inch, drop forged CR-V steel with heat treated edges, a 25 degree bevel, PVC handles, blade guards, and a case to keep them in. Four sizes cover almost everything I do. The 1/4 inch cleans the corner of a mortise, the 1 inch pares a hinge gain, and the middle two do the daily work.
The set is not the interesting part. What you do with it in the first ten minutes after the box opens is. A blade that comes out of the package will cut, and it will stop cutting cleanly after about an hour of oak. Everything below is the routine I settled on after thirty years of doing it wrong first, in a garage that is twelve by twenty feet and has to be cleared off every night.
Four sizes, one stone, and a shoulder that closes without a fight
The 1/4, 1/2, 3/4, and 1 inch HURRICANE chisels cover paring, chopping, and cleanup, with blade guards and a case so the edges survive storage between sessions.
Amazon Check Today's Price on Amazon →Step 1: Read the Edge Before You Touch a Stone
Hold the blade up to a window and look down the bevel. Nicks show up as bright points of light where the edge has folded or chipped. A chip the size of a grain of sand will telegraph a scratch down the wall of a joint, so find them now, with the work off the bench, instead of in the middle of a glue-up with a clamp in your other hand.
Then check that the edge is square to the back. A small machinist square is enough. If the edge is skewed by even a degree or two, the chisel will pull to one side every time you pare, and you will correct for it with your wrist instead of the tool. That is a habit that takes years to unlearn, and it shows up later as joints that are tight on one end and open on the other.
The blades in the HURRICANE set arrived with a 25 degree bevel that was flat and square, which I cannot say about every set I have bought. That 25 degrees is a starting point, not a finished edge. It is a low angle, which is what you want for paring, but it leaves a thin edge that will not hold up long to chopping oak. I hone the primary bevel at 25 and add a microbevel a couple of degrees steeper by hand. The primary stays put, and the microbevel gets touched up in about fifteen seconds.
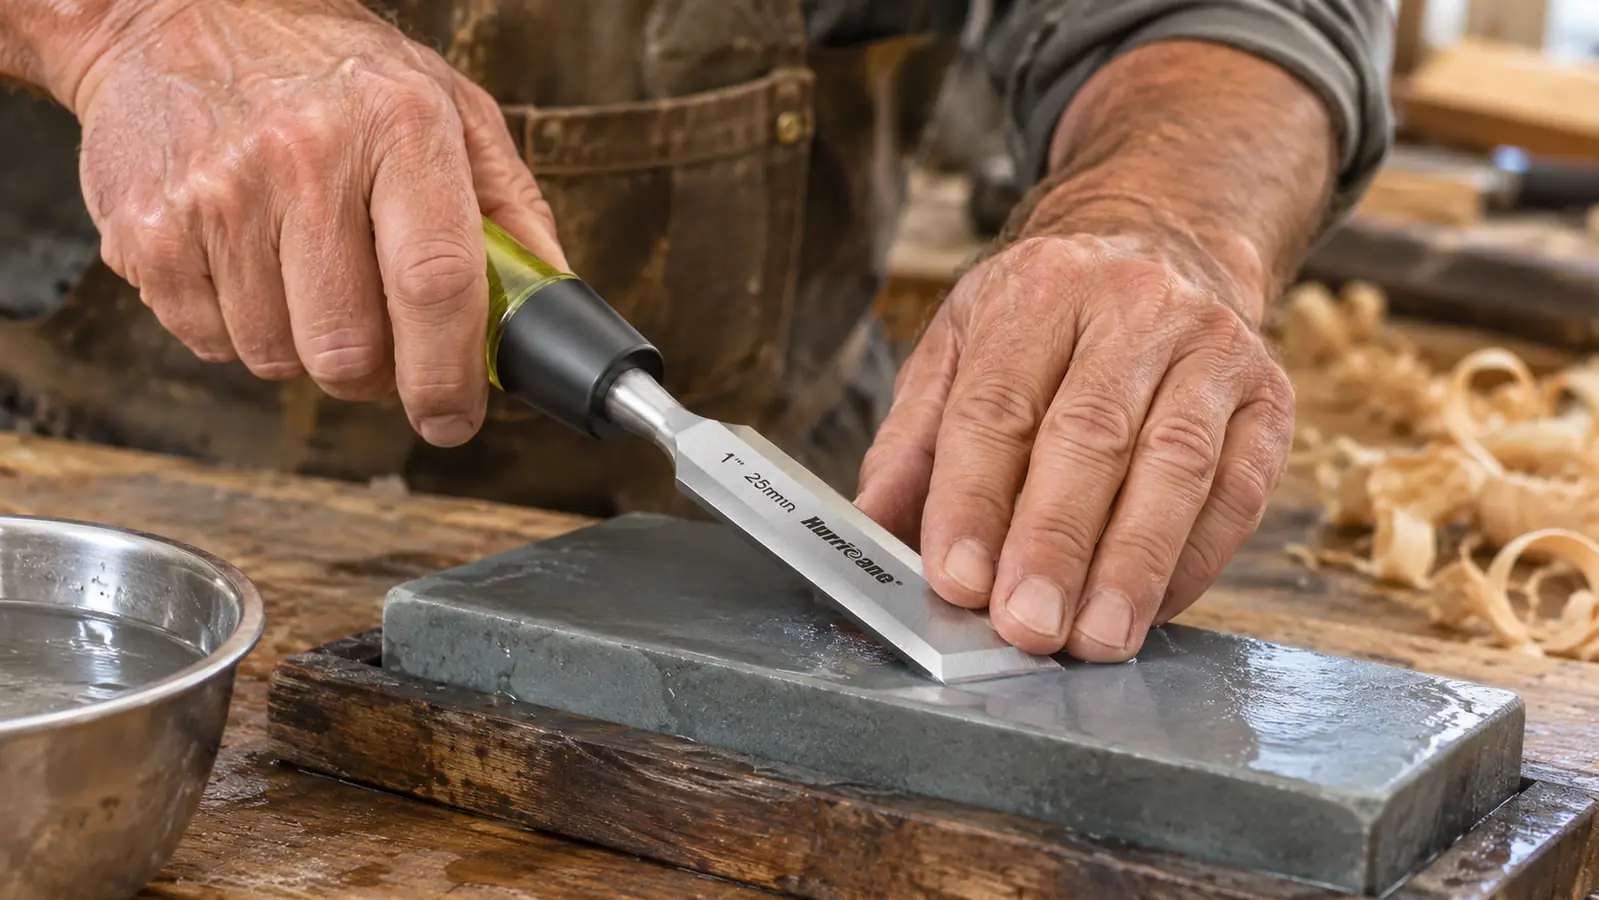
Step 2: Flatten the Back, Because the Back Is Half the Edge
Everyone sharpens the bevel, because the bevel is the part that looks like an edge. Then they wonder why the tool still will not pare end grain clean. If the back is not flat at the tip, the two planes never meet at a point and you are cutting with a slightly rounded wedge. The wood does not care how much time you spent on the bevel side.
You do not have to flatten the whole back. The first inch behind the edge is the only part that matters for most work. I use 400 grit paper on a piece of plate glass, or a flat diamond stone if one is already out, and push the blade forward with the back dead flat. Push, lift, reset. Do not scrub back and forth, and do not rock it, because rocking is how you round the very thing you are trying to make flat.
The mistake I made for years was polishing the entire back until it shone. That looks good in a photograph and does nothing for the edge. Worse, working the whole surface wears the middle and leaves the back slightly dished, so the tip never quite touches the stone again. Flatten the first inch, confirm it against a straightedge, and stop while the blade is still flat where it counts.
Step 3: Hone the Bevel at 25 Degrees and Hold It There
Sharpening a bevel is mostly a test of whether you can hold an angle for thirty strokes. Most people cannot, at least not at first, and I include myself in that. A honing guide removes the variable. I used one for the first sharpening of every blade in the HURRICANE set, then went back to freehand, which is what I had been doing for twenty years before I owned a guide in the first place.
When you hone, work the full bevel, not just the tip. You want the blade to settle flat on the stone across its width, and you want to feel that flatness through your fingers. If it rocks, you are rounding the bevel and the edge will be weaker for it. Ten strokes on a coarse stone to raise a burr along the whole edge, then the same count on a finer stone to polish what you just ground.
Grits matter less than the catalogs suggest. A 400 grit stone to do the work and a 1000 or 1200 grit to finish is enough for a chisel that gets used daily. I go finer on the 1/4 inch because it does the finish paring in corners where a tool mark shows, and the 1 inch gets a working edge and nothing more. There is no prize for the prettiest bevel in the shop.
A flat back and a 25 degree bevel will pare end grain to a polish. A dull one bruises it, and no amount of sanding brings a bruised shoulder back.
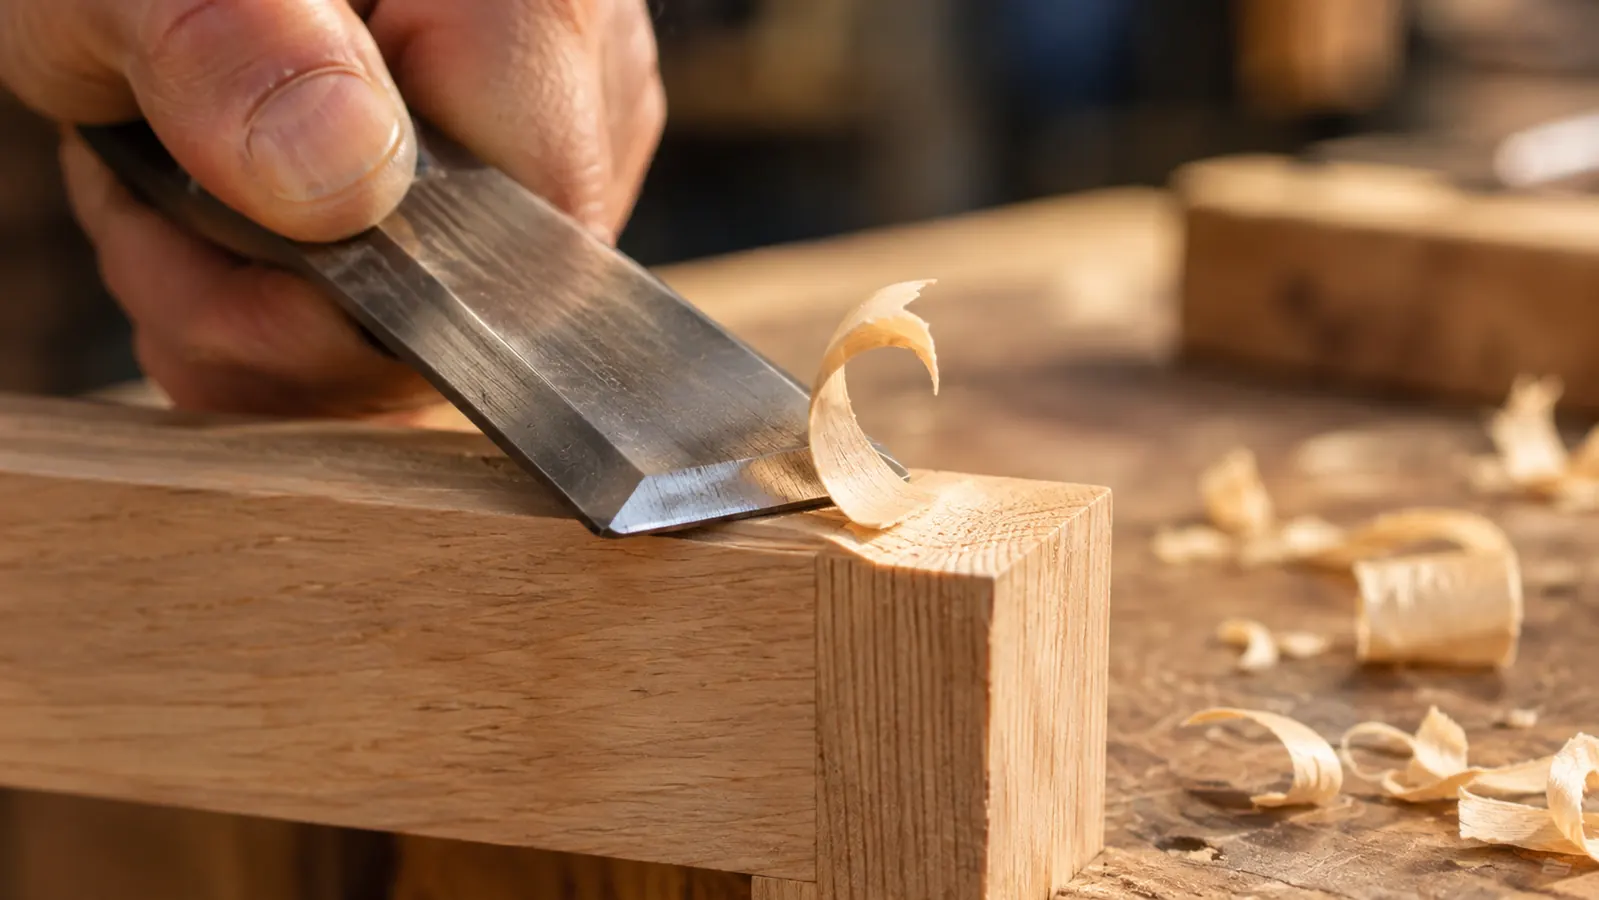
Step 4: Kill the Burr, Then Test on Wood
Every pass on the bevel raises a burr on the back. That burr feels like an edge and is not one. It folds over the first time you touch wood and leaves a line of crushed fiber down the wall of your joint. Removing it takes three or four light passes with the back flat on the fine stone, then the same again on the bevel to break off whatever the first passes raised.
Test it on wood, not on paper. Paper will cut for a dull edge and tell you nothing. Take a scrap of pine and pare the end grain. A sharp chisel leaves a surface that looks polished and slightly reflective. A dull one leaves it fuzzy and lighter in color, and you can feel the difference under a thumbnail. I keep a scrap of pine on the bench for exactly this, and I check the edge before I start, not after I have ruined a shoulder.
After the stone, five or six strokes on a leather strop charged with compound brings the edge up another notch and takes about ten seconds. I strop at the start of a session rather than the end. It is easier to remember, and it means the tool is ready when I reach for it instead of being ready twenty minutes later.
Step 5: Cut the Joint So the Chisel Has Something to Follow
Now the part that actually makes a clean joint, and it starts before the chisel touches wood. Knock the knife wall first. Score both sides of the joint with a marking knife against a square, then register the flat back of the chisel in that scored line and tap. The back is your reference and the score is your fence. That is the whole trick, and it is the reason a dull chisel makes a mess even when your sawing was straight.
Chop with the bevel facing the waste. If the bevel faces the line, the chisel will lever itself away from your mark and the wall will slope back under your hand. Take light bites, work from both ends toward the middle on a wide waste area, and never pry sideways with the blade to clear chips. Use the 1 inch for broad waste, the 1/2 inch for shoulders, and the 1/4 inch to clean out the last corner.
Paring is where the four sizes earn their place. Lay the back flat on the surface you want to preserve and slice with a skewed motion rather than pushing straight in. Skewing turns a push cut into a slicing cut, and on end grain that is the difference between a clean shoulder and a torn one. In a hinge gain, the 1/4 inch takes a shaving thin enough to see the bench through.
What Else Helps
The blade guards that come with the HURRICANE set are not decoration. Chisels stored loose in a drawer knock against each other and roll their edges, and then you spend the next session sharpening out damage that no piece of wood caused. Put the guard back on before the tool goes down. The case keeps all four together, which matters in a shop where the bench has to be clear at the end of the night.
Keep a strop and one stone where you can reach them. If sharpening means unpacking a box and moving three things, you will not do it, and you will keep cutting with a dull edge and blaming your layout. My stone sits on a scrap of rubber shelf liner so it does not slide, and the strop hangs off the end of the bench within arm's reach.
Hold the work properly. A chisel is a two handed tool, one hand on the handle and one on the blade guiding it, and both hands stay behind the cutting edge at all times. On small parts, a bench hook or a clamp is not optional. My grandson Tyler helps in the shop on some weekends, and the rule there is simple: the work is clamped before any edge tool comes off the rack.
The gap in your joint is probably the edge, not your layout
The HURRICANE 4 piece set covers 1/4, 1/2, 3/4, and 1 inch work, with blade guards and a case so the edges survive storage. Flatten the back once, strop often, and the shoulders close on their own.
Amazon Check Today's Price on Amazon →