
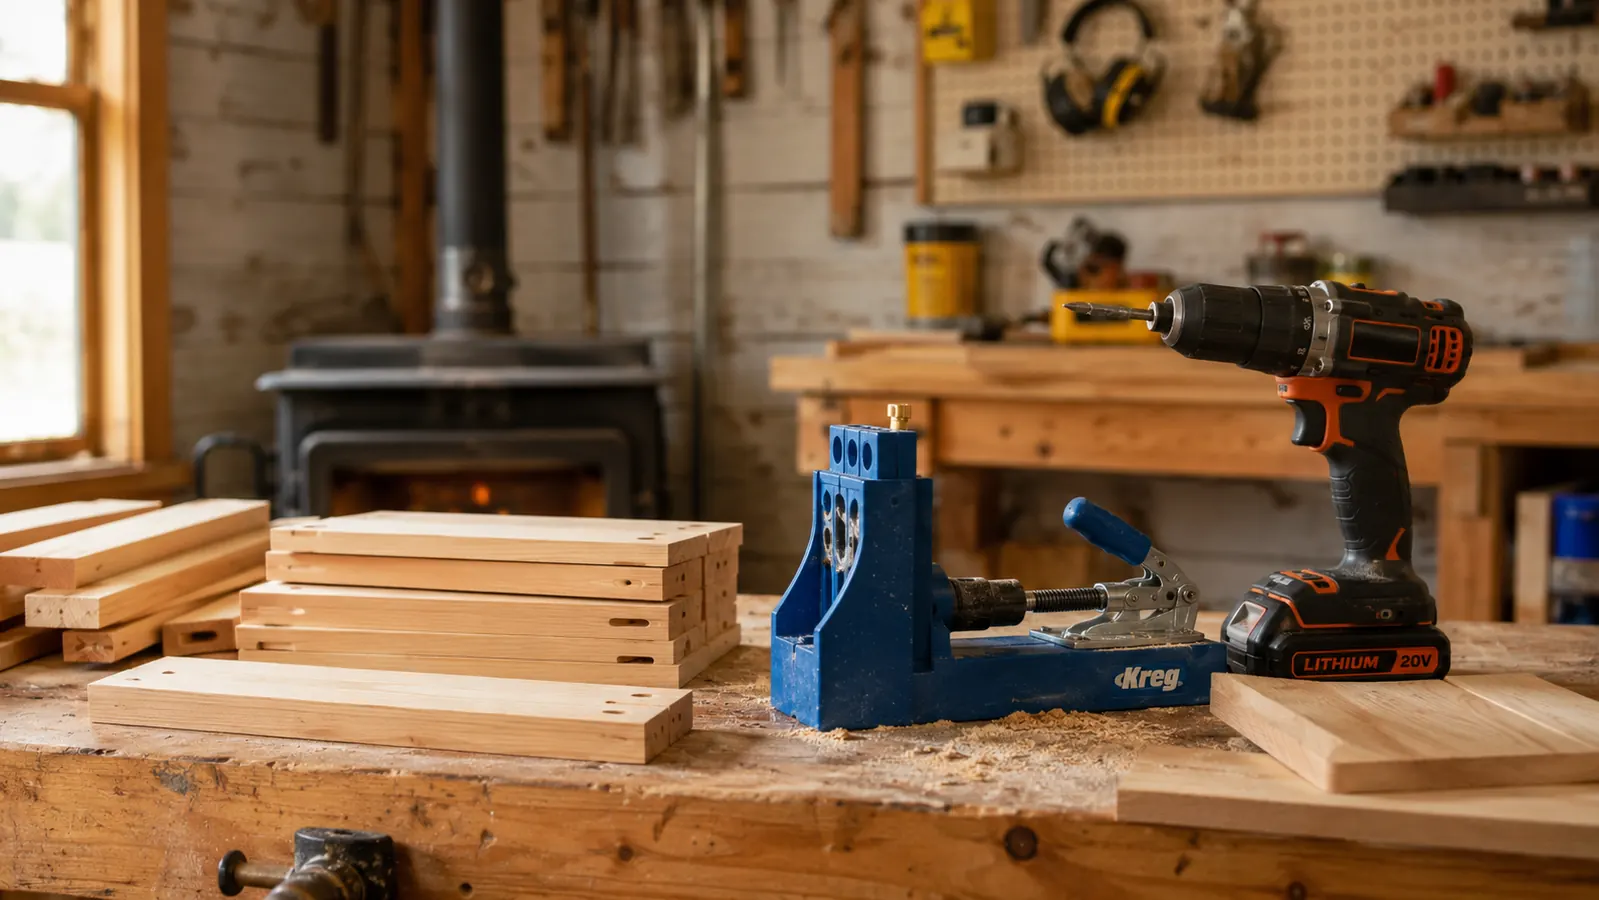
The short answer is that the Kreg R3 does everything I need and I have never once wished I had spent more. The Kreg 320 is the better jig for one job, which is drilling the same joint twenty times in a row without stopping to think about it. Every other job, the R3 handles. So the real question is not which jig is built better. It is whether you work in batches or you work one piece at a time in whatever corner of the garage happens to be free that evening.
My shop is a one-car detached garage, about 12 by 20 feet, with a wood stove in the corner and a shop vac plus a portable dust collector I move around more than I would like. Every tool has to earn its footprint, and that is the lens I look through. The Kreg R3 weighs 1.3 pounds and measures about 8 by 2.25 by 5 inches in its case. It lives in the top drawer of my bench and it does not ask for a permanent address. In a shop this size, that counts for more than most spec sheets admit.
| Kreg R3 | Kreg 320 | |
|---|---|---|
| Where it lives | Clamps to the work or sits in its compact case, about 8 by 2.25 by 5 inches | Stays on the bench, and the work comes to it |
| Holding the work | You supply the clamp, and the included clamp adaptor lets the drill guide work with most clamps | The clamp is built into the jig, so the board does not shift once it is set |
| Batch runs | You re-clamp and re-settle every piece | Set the thickness once and feed piece after piece |
| Repairs and awkward pieces | Goes to the work, so it reaches inside a carcase or onto an installed cabinet | The work has to be able to sit on the jig |
| Material thickness settings | Positioning sliders carry nine depth settings | Adjusts across common stock thicknesses as well |
| Storage and travel | Compact carrying case holds the 6 inch driver bit, depth collar, Allen wrench and clamp pad | No case, because it is a bench fixture rather than a kit you carry |
| Learning curve | You are juggling a jig and a clamp at first, which takes a few joints to settle | The self-contained clamp is easier on day one |
| Best for | One-off joints, repairs, small shops, trim and toys | Repeated joints and a bench spot you do not have to clear |
What Both Jigs Get Right
Both of these do the same basic thing, and it is worth saying plainly what that is. You clamp the jig against the edge of a board, run a stepped bit through a hardened guide, and you get an angled pilot hole that lets a screw pull one board tight into the face of another. The joint is not fine furniture joinery and it is not pretending to be. It is fast, it is strong, and it puts the fastener on the inside of the carcase where nobody is going to look.
Both use the same pocket screws, both depend on a depth collar set against the bit, and both drill into material up to 1.5 inches thick. Neither one will teach you to tune a hand plane or cut a dovetail. What they will do is get a bookshelf or a set of shop cabinets standing square in an afternoon, which at my age and with my patience level is the entire point of owning a jig.
The other thing they share is forgiveness. If your saw cut is a degree or two off, the screw still pulls the joint closed, and the piece stays closed. I have built birdhouses with Tyler on a Saturday morning where nothing was perfectly square and everything still went together. I have also built a run of shop shelves out of pine, cut on a contractor saw with a fence I did not fully trust, and the jig pulled those joints tight anyway. That is not a knock on the jig. It is the reason a hobbyist with a contractor saw and one bench can build real furniture at all.
How I've Used the R3
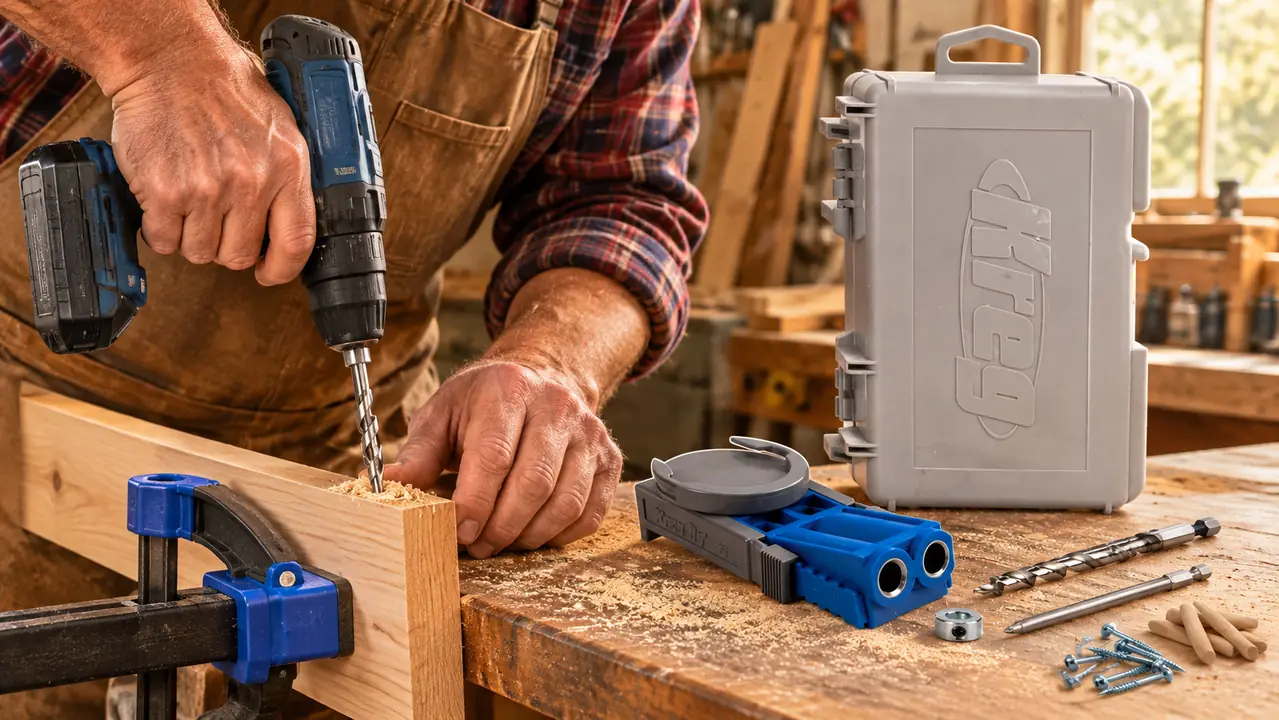
I bought mine years ago for a cherry blanket chest, mostly because I did not want to cut mortises by hand and I did not own a mortiser. The chest was 40 inches long, 18 inches deep and 20 inches high, all of it 3/4 cherry, and it needed a couple of dozen joints that would never be seen once the lid went on. It took me two evenings after work to drill every hole and one Saturday to glue and assemble. It did that job and then it kept finding work. Birdhouses with my grandson. A set of shop shelves. A neighbor's cabinet face frame that had come loose, where the only way to get a screw in was to bring the jig to the cabinet instead of the cabinet to the jig. That last one is the thing a bench jig simply cannot do.
The clamp adaptor that comes with it lets the drill guide work with most clamps I already had in the drawer, so I did not have to buy a dedicated clamp on day one. The positioning sliders have nine depth settings, which is more range than I have ever needed, but it means I can move from 3/4 stock to thinner material without guessing. The kit also includes a 6 inch driver bit, a depth collar, an Allen wrench, a clamp pad and a compact case that keeps the lot together.
Where the Kreg R3 Wins
Portability, and it is not close. The R3 clamps onto the workpiece or sits in your hand, so it goes where the work is. I have used it inside a half-built carcase, on a cabinet already hanging on a wall, and on a repair where the piece could not leave the house. That last one was a neighbor's pine bookcase, still fastened to the wall in her den, with a shelf that had sagged and pulled its screws. I knelt on the rug with a headlamp, clamped the jig to the upright, and drilled four holes without taking anything apart. A bench jig is the opposite arrangement: the work travels to it. In a 12 by 20 shop that usually means clearing the bench first, and clearing the bench is fifteen minutes I would rather spend cutting wood.
Storage is the second win. Everything rides in the compact case: the bit, the depth collar, the Allen wrench, the clamp pad. Mine has been dropped, kicked off a sawhorse and buried in sawdust, and it still holds the parts in one place. If you share a garage with a car or you haul tools to someone else's house, that case is the difference between a jig and a drawer full of loose bits you cannot identify.
Where the Kreg 320 Wins
Clamping. The 320 builds the clamp into the jig itself, so once a board is seated it does not move while you drill. With the R3 you supply the clamp, then hold the jig and the board and the drill, and there is a learning curve to that, especially on short pieces where the clamp wants to slide off the end. On a one-off repair, who cares. On the twentieth piece of the afternoon, you feel it in your forearms.
Repeatability follows from that. With the work held in the jig, you set the thickness once and feed pieces through one after another, and every hole lands in the same place. I borrowed one for a weekend while I was building a run of shop cabinets, a stack of 22 shelf pieces all at 3/4 thick, and I drilled the lot in a single sitting without once chasing a clamp that had slipped off the end of a board. My holes with the R3 are fine. They are just slower to make and slightly less identical, and when you are assembling boxes, identical is what keeps the carcase from racking.
The R3 weighs 1.3 pounds and lives in a drawer. The 320 owns a corner of the bench and holds the board for you. Neither one is wrong. Only one of them fits in my shop.
The jig that goes to the work instead of making the work come to it
The Kreg R3 clamps onto the piece, drills a clean angled pocket, and folds back into a case small enough for a bench drawer. 1.3 pounds, nine depth settings, nothing extra to buy on day one.
Amazon Check Today's Price on Amazon →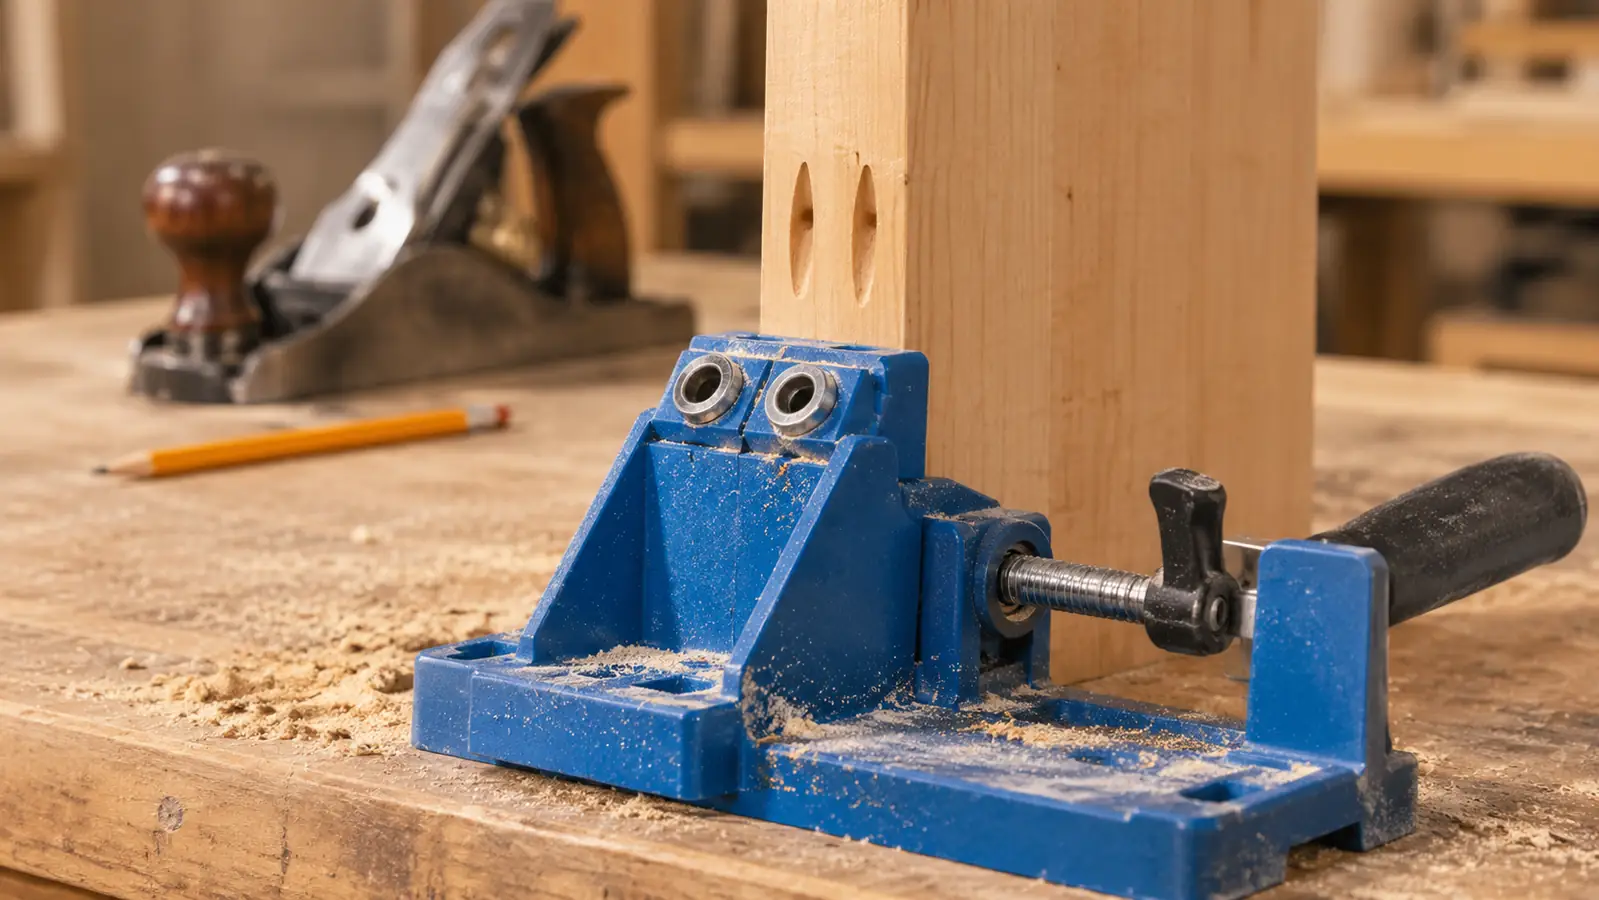
The Setup That Actually Matters
You can own either jig and still get a bad joint, because the jig is only half of the setup. The depth collar is the other half. Set it against the bit for the screw length you are using, snug it down, then drill a test hole in a scrap of the same thickness and hold the screw up to it. If the tip breaks through the face, the collar sits too deep. If the screw bottoms out before the pieces close, it is too shallow. I learned this the expensive way on a piece of cherry that is now a shorter piece of cherry. Now I keep two offcuts on the bench, one 3/4 pine and one thinner plywood panel, both penciled with the setting that worked, and I drill one hole in each before I touch a real part. It takes ninety seconds and it has saved me more than one board.
The second half is clamp pressure. The jig has to sit flat and tight against the edge or the bit will wander and the hole comes out oversized. On the R3 that means the clamp goes on with the pad underneath, which is exactly what the included clamp pad is for. Skip it and you will dent softer woods. I did, on a pine shelf, and then I taped a note inside the case so I would stop doing it.
The Tradeoffs Nobody Mentions
Nobody tells you about the small parts. The depth collar is the size of a thick washer and the Allen wrench is smaller than my pinky. Lose the collar and you are guessing at hole depth until a replacement arrives. I lost the wrench for a month and used a folding hex key instead, which worked but was not the right tool for the job. Now both live in the case and the case lives in the same drawer, every single time.
The other thing is that the R3 is plastic, and it feels plastic. Treated like a tool it will last for years. Dropped off a ladder onto concrete, it might not. Mine has ridden in the back of a truck exactly once, on the way to my daughter's house to hang shelves in a closet, and it came home with a scratch across the case and nothing worse. I am careful with mine, and I still check the guide for slop before starting a project that matters. If you want something that shrugs off being dragged around a job site, that is a different purchase than either of these.
What I Liked
- Clamps to the work, so it reaches inside carcases and onto installed cabinets
- Positioning sliders give nine depth settings across different material thicknesses
- Compact case holds the 6 inch driver bit, depth collar, Allen wrench and clamp pad
- 1.3 pounds and small enough to live in a bench drawer
- Clamp adaptor works with most clamps you already own
Where It Falls Short
- You supply the clamp and juggle it, which slows batch work
- Re-clamping every piece makes repeated joints slower than a bench jig
- Depth collar and Allen wrench are small enough to lose
- Plastic body needs care if it rides in a truck
Who Should Buy Which
Buy the R3 if your work is one-off, if your shop is small, or if you do repairs. Cutting boards, birdhouses, a bookshelf, a loose cabinet frame, a toy that needs a stronger joint than glue alone: the R3 does all of it from a drawer and you will not miss the handle. It is also the jig I would hand a beginner, because when you are the clamp, you learn what the joint actually needs. Tyler is twelve and he can manage it with supervision and safety glasses on, which tells you how much there is to it.
Buy the 320 if you build in runs and you have a permanent spot on the bench. Cabinet boxes, a set of drawers, twenty shelf pieces, anything where the same operation repeats and you want the board held still while you drill. If your bench is already cleared and stays cleared, the built-in clamp is worth the footprint. If your bench is a catch-all like mine, it is one more thing to move before you can start.
If you are only going to own one, and most of us are only going to own one, think about the next three projects on your list rather than the last three. Three sets of shelves in a row points at the 320. A repair, a chest, a birdhouse and a shelf points at the R3. The R3 has the wider range of jobs, and the 320 has the faster job. Nothing more complicated than that.
Start with the jig that fits in the drawer you already have
For a small shop and one-off work, the Kreg R3 covers the joint without taking up bench space. Case, bit, collar and clamp pad all come with it.
Amazon Check Today's Price on Amazon →